When you make changes to a WordPress website, you expect to see those changes immediately. You edit a page, update an image, change CSS, publish new content, or modify a plugin setting, then open the website to check the result.
But sometimes the old version still appears.
The changes may actually be working correctly. The problem could simply be caching.
Caching stores previously generated versions of website files and content so they can be delivered faster to visitors. This improves performance, but it can also cause an older version of a page to appear after you make changes.
Knowing how to clear WordPress cache is therefore an important part of maintaining a WordPress website.
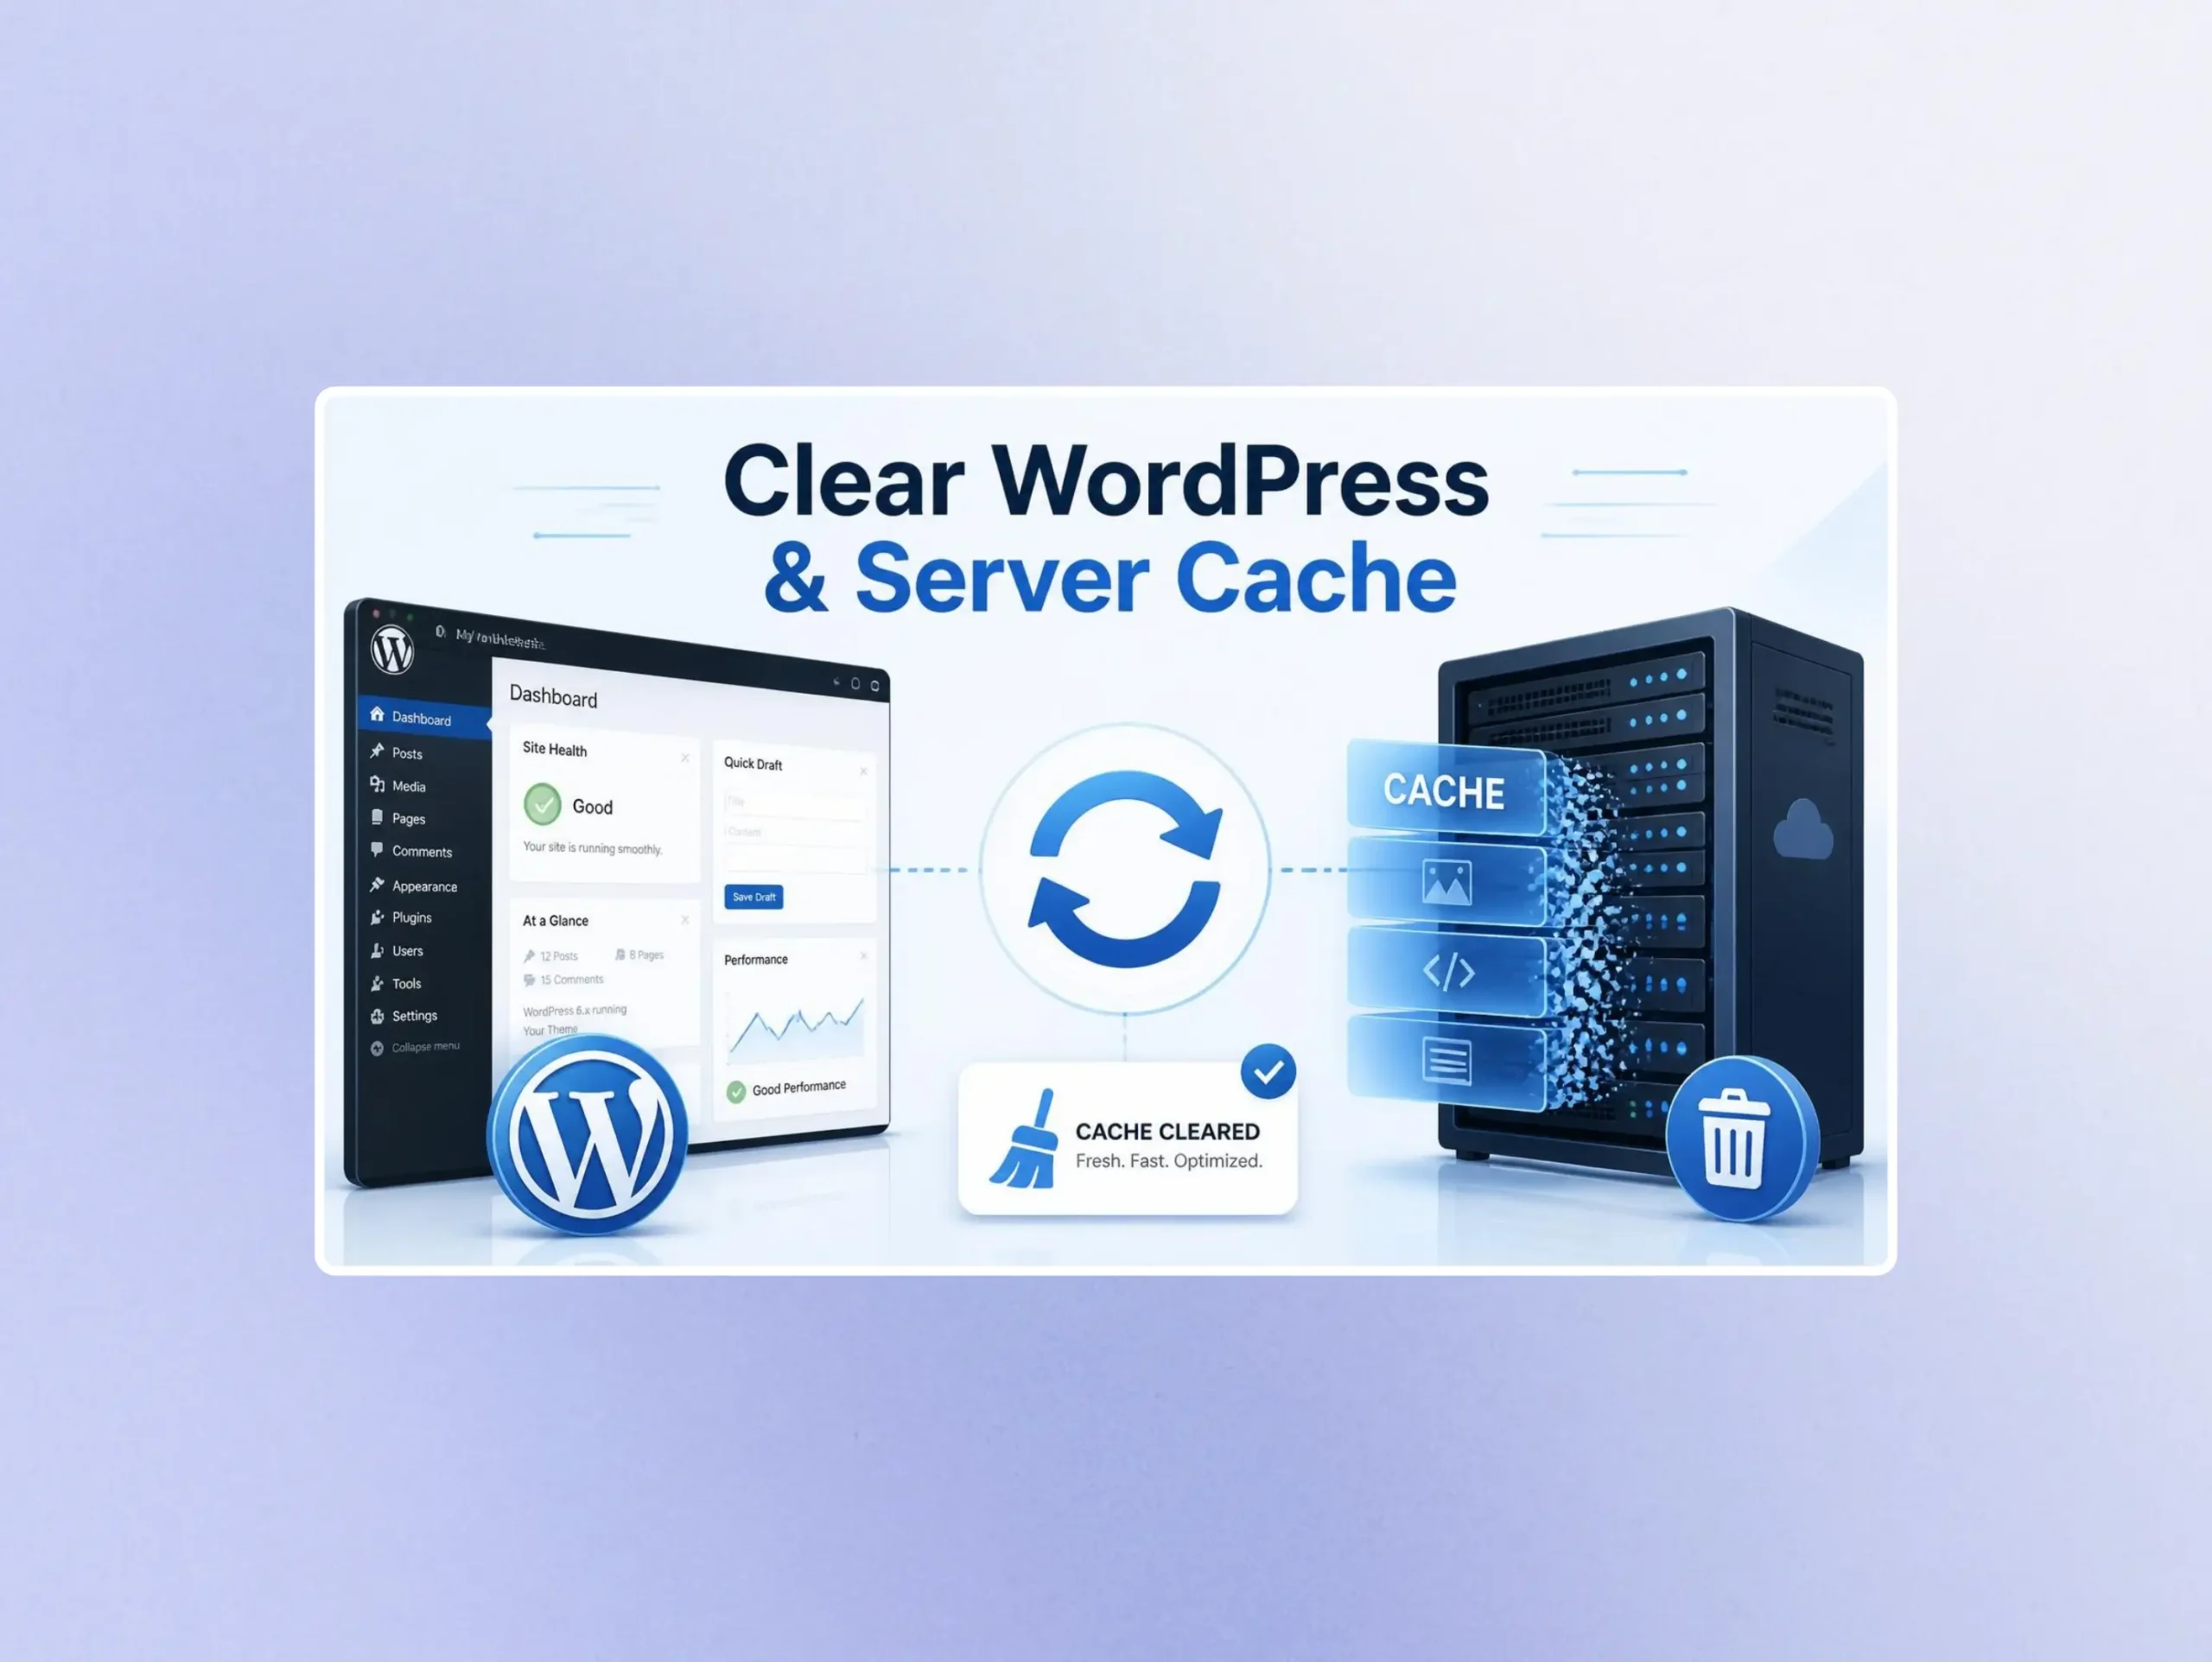
However, WordPress does not have just one cache. Your website may have several caching layers, including WordPress caching plugins, hosting cache, server cache, CDN cache, and browser cache.
If you clear only one layer, the old version may still appear.
Why Do You Need to Clear WordPress Cache?
Caching is useful, so you should not disable it simply because an old version appeared.
Instead, you usually need to clear or refresh the relevant cache after certain changes.
Common situations include:
Design changes → You changed layouts, fonts, colors, spacing, or other visual elements.
CSS or JavaScript changes → You added or modified custom code.
Plugin changes → A plugin generated cached files that contain older content.
New content → You published or significantly edited a page or post.
Image changes → You replaced an image but the previous version continues to load.
Theme changes → You modified theme files or settings.
Performance configuration changes → You changed caching, optimization, minification, or other performance settings.
When troubleshooting an apparently outdated website, clearing the cache is often one of the first things worth checking.
The Different Types of Cache
Before you clear site cache, it helps to understand where the cache may exist.
WordPress Plugin Cache
Caching plugins can generate and store cached versions of pages and assets.
Popular WordPress caching solutions include systems such as WP Rocket, LiteSpeed Cache, W3 Total Cache, and WP Super Cache.
Each plugin has its own interface and terminology, but most provide an option to clear, purge, or delete cached files.
Hosting Cache
Your hosting provider may also cache website content at the server level.
This cache exists outside the WordPress dashboard.
That means clearing a WordPress plugin cache may not be enough.
Many managed WordPress hosting providers include their own caching systems and provide a purge option through the hosting control panel.
Server Cache
A web server can use caching mechanisms to improve performance.
Depending on your hosting environment, this may include page caching, object caching, or other server level caching systems.
If your host uses a server level cache, you may need to purge it separately.
CDN Cache
A content delivery network can cache static files and sometimes entire pages.
If your website uses a CDN such as Cloudflare, an old version of a CSS file, JavaScript file, image, or page may continue to be delivered from the CDN.
In that situation, you may need to purge the CDN cache.
Browser Cache
Your own browser can also store website files.
This is why a website may look updated when opened in another browser but still show the old version in your normal browser.
Clearing browser cache or performing a hard refresh can help determine whether the issue is local to your browser.
How to Clear WordPress Cache From Your Plugin
The exact process depends on which caching plugin you use. Most caching plugins provide a clear or purge option directly from the WordPress dashboard. Open your WordPress dashboard and look for the caching plugin’s settings or toolbar menu.
Look for an option such as:
Clear Cache
Purge Cache
Delete Cache
Clear All Cache
Purge All
The terminology differs between plugins. After clearing the cache, open the website again and check whether the changes are visible. If you are using a page builder, you may also need to regenerate its CSS or other generated files.
How to Clear Cache in LiteSpeed Cache
If your website uses LiteSpeed Cache, you can purge cached content from the WordPress dashboard.
Open the LiteSpeed Cache menu and use the appropriate purge option. For a troubleshooting situation where you need to make sure cached content is removed, the option to purge all cache can be useful.
However, avoid repeatedly purging all cache without a reason.
Caching exists to improve performance, and the cache will normally rebuild after it is cleared.
How to Clear Cache in WP Rocket
WP Rocket provides cache management tools from the WordPress dashboard.
After making website changes, you can use its cache clearing functionality to remove previously generated cached pages.
If you are troubleshooting a design issue, you may also need to check whether CSS and JavaScript optimization or file generation is involved.
For example, a new CSS rule may exist correctly, but an optimized cached CSS file may still contain an older version.
In that case, clearing the relevant cache and allowing the optimized files to regenerate can resolve the problem.
How to Clear Server Cache
If the cache exists at the server or hosting level, you need to clear it from your hosting environment.
Log in to your hosting control panel and look for options related to:
Cache
Performance
Server Cache
Page Cache
Purge Cache
Caching
The exact location depends on the hosting provider. Some hosting platforms automatically manage caching and provide a simple button to purge it. Others may provide more advanced controls.
If you cannot find a cache option, check your hosting provider’s documentation or contact their support team.
How to Clear Site Cache in Cloudflare
If your website uses Cloudflare, cached content can exist at the CDN layer.
Cloudflare provides cache management tools that allow you to purge cached content. For troubleshooting, you may choose to purge the relevant cached content rather than removing everything.
If you frequently need to clear the entire CDN cache after small website changes, your caching and cache invalidation configuration may need improvement.
For example, properly configured cache headers and asset versioning can reduce the need for manual purging.
How to Clear Browser Cache
If the website is updated for other visitors but your browser still shows an older version, your browser cache may be responsible.
Before deleting all browser data, try a hard refresh.
On Windows, common browser shortcuts include:
					Chrome and Edge → Ctrl + Shift + R
Firefox → Ctrl + Shift + R
On macOS, the shortcut depends on the browser, but a hard reload can similarly request fresh resources.
If that does not work, you can clear cached browser files through the browser’s settings. Then reopen the website.
How to Clear WordPress Cache After Elementor Changes
Elementor websites can sometimes show old CSS or generated files after design changes. If you update an Elementor page but the frontend does not reflect the changes, first check the obvious causes. Save or update the page, then clear your WordPress caching plugin’s cache.
You can also use Elementor’s tools to regenerate or synchronize its generated CSS and data when appropriate.
After that, clear any hosting or CDN cache. Finally, perform a hard refresh in your browser.
A useful sequence is:
Update the page → Clear Elementor generated files if needed → Clear WordPress cache → Clear hosting cache → Clear CDN cache → Hard refresh the browser
You usually do not need to perform every step for every small edit. Start with the most likely cache layer and move outward if the old version remains.
What If Clearing the Cache Does Not Fix the Problem?
Sometimes caching is not the actual problem.
If you clear WordPress cache and the website still shows the wrong result, investigate other possibilities.
Check whether the page was actually updated
Make sure the changes were saved successfully.
If you are working with Elementor or another page builder, verify that the correct page or template was edited.
Check whether another template is being displayed
Dynamic WordPress websites can use theme templates, Elementor templates, archive templates, single templates, or conditional display rules.
You may have edited one template while the website is displaying another.
Check custom CSS
A CSS rule from another stylesheet may be overriding your new styling.
Use your browser’s developer tools to inspect the element and identify which rule is actually being applied.
Check JavaScript
If an interactive element is not working, the issue may be caused by JavaScript rather than caching.
Browser developer tools can help identify JavaScript errors.
Check the CDN
If the website works correctly on the server but visitors continue seeing old assets, CDN caching may be responsible.
Should You Clear All Cache Every Time?
No. You should not treat cache clearing as a routine action that needs to happen after every change. Modern caching systems are designed to invalidate or regenerate cached content when appropriate.
Manually clearing every cache layer after every edit can be unnecessary and may temporarily reduce performance while the cache rebuilds.
Instead, use targeted cache clearing whenever possible.
For example, if you changed a CSS file, you may only need to refresh the relevant generated assets.
If you changed a page’s content, you may only need to purge that page’s cached version. If the entire website has been redesigned, a broader cache purge may make sense.
Final Thoughts
Caching is essential for WordPress performance, but it can occasionally make website updates appear to be missing.
The key is understanding that there may be several caching layers between your WordPress dashboard and the visitor’s browser.
When you need to clear WordPress cache, start with the WordPress caching plugin. If that does not resolve the issue, check the hosting or server cache, CDN cache, and finally the browser cache.
If you frequently need to clear site cache manually after ordinary updates, it may be worth reviewing your caching configuration rather than simply clearing everything repeatedly.
A properly configured caching system should improve performance while still allowing updated website content to reach visitors reliably.
Frequently Asked Questions
How do I clear WordPress cache?
To clear WordPress cache, open your caching plugin from the WordPress dashboard and use its Clear Cache, Purge Cache, or similar option. If the old version remains, check your hosting, server, CDN, and browser caches as well.
What does clear site cache mean?
To clear site cache means removing stored versions of website content so that a fresh version can be generated and delivered. Depending on your website setup, this may involve WordPress, hosting, server, CDN, or browser cache.
How often should I clear WordPress cache?
You do not normally need to clear WordPress cache on a fixed schedule. Clear it when making changes that should immediately appear but are not visible, or when troubleshooting outdated cached content.
Does clearing cache delete my WordPress content?
Normally, no. Clearing cache removes stored cached copies of content. It does not normally delete your pages, posts, products, images, or database content. However, always use the specific purge or cache clearing function provided by your caching system rather than deleting files manually.